
Top Picks

Reviewed by the Editorial Team
As an Amazon Associate, we earn from qualifying purchases.
The best how to mount a tv on the wall for your situation depends on how you plan to use it and where.
Last Updated: June 2026 | Written by the Editorial Team
> "If you can find a stud, drive a lag bolt, and read a spec sheet, you can mount a TV on the wall yourself in about 90 minutes."
Mounting a TV on the wall is one of those projects that looks terrifying until you actually do it. The first time I mounted a 55-inch TV in my living room back in 2024, I spent a full forty minutes staring at the bracket box, absolutely convinced I'd punch a fist-sized crater through the drywall and ruin my Saturday.
I didn't.
The TV is still there. Dead level. Two years and counting. No sag, no creak, no late-night thud waking me up wondering if my electronics just performed a swan dive onto the hardwood.
Here's the truth nobody tells you: wall-mounting a TV is one of the highest-confidence, lowest-risk DIY projects you can do. The hardware is over-engineered. The brackets are color-coded. And the math is honestly simpler than assembling an IKEA dresser.
This guide walks you through the exact process I've refined across four installs in two homes — including the one where I had to mount into a nightmare metal-stud wall, and the one where the only viable spot landed perfectly between two studs and demanded heavy-duty toggle bolts.
Let's get your TV off that wobbly stand and onto the wall where it belongs.
The 60-Second Answer: How to Mount a TV on the Wall
If you just need the playbook, here it is in seven moves:
- Confirm your TV's VESA pattern and weight
- Choose a mount rated for both (with margin to spare)
- Locate wall studs with an electronic stud finder
- Mark and drill pilot holes dead-center into the studs
- Bolt the wall plate to the studs with lag screws
- Attach the bracket arms to the back of the TV
- Hang the TV on the wall plate and lock it in place
Quick-Glance Project Stats
| Metric | Reality Check |
|---|---|
| Skill Level | Beginner-friendly |
| Time Required | 60-90 minutes |
| Cost (Mount + Tools) | $40-$200 |
| Helpers Needed | 1 (for TVs over 40") |
| Risk of Disaster | Very low with proper studs |
| Confidence Boost | Off the charts |
See It Done Right: Pro Installation Walkthrough
Before you grab the drill, watch how the pros do it. This visual reference will save you from the three most common rookie mistakes:
What You'll Need Before You Start (Don't Skip This)
Before I even think about touching the wall, I lay every single tool out on a moving blanket on the floor. Missing one tool mid-install is exactly how you end up with a $1,200 TV propped against the couch for three days while you wait for an Amazon delivery.
The non-negotiable kit:
- Stud finder — electronic, not the magnet kind (more on this critical detail below)
- Cordless drill — with a clutch and a fresh set of HSS bits
- Drill bits — 1/8-inch for pilots, 5/16-inch for lag bolts
- Socket wrench or impact driver — match the socket size your mount specifies
- Quality level — a 24-inch torpedo level absolutely destroys the tiny one taped to your mount
- Pencil and painter's tape — for clean, removable marks
- Tape measure — minimum 16-foot
- A helper — mandatory for anything over 40 inches, full stop
Recommended Gear by TV Size
For a typical 50-75 inch TV install, you'll want:
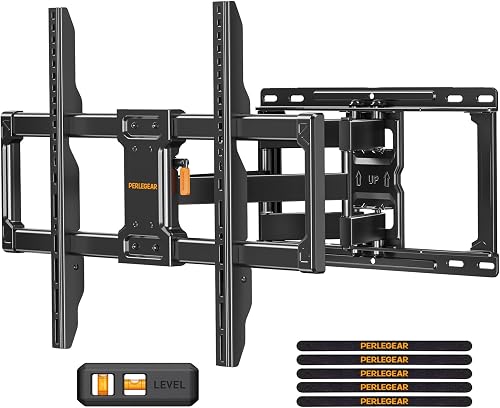
- A tilting or full-motion wall mount rated for at least 25 pounds above your TV's weight
- An electronic stud finder with AC wire detection (potentially life-saving)
- A reliable 18V cordless drill with two batteries
Step 1: Crack the VESA Code (The Number That Trips Everyone Up)
VESA is the four-hole bolt pattern on the back of your TV, measured in millimeters — horizontal by vertical. A 55-inch TV is usually VESA 300x300 or 400x400. A 75-inch is typically 600x400.
Get this wrong and the mount literally will not bolt to your TV. You'll be standing there, frustrated, with a TV in one hand and the wrong adapter in the other.
VESA Mount Size Guide by TV Size
| TV Size | Common VESA Pattern | Typical Weight |
|---|---|---|
| 32-40 in | 100x100 or 200x200 | 10-20 lbs |
| 43-50 in | 200x200 or 300x300 | 20-35 lbs |
| 55-65 in | 300x300 or 400x400 | 35-55 lbs |
| 70-75 in | 400x400 or 600x400 | 55-80 lbs |
| 80-85 in | 600x400 or 800x400 | 80-130 lbs |
How I Actually Verify the VESA Pattern
I flip the TV face-down on a padded surface — moving blanket, comforter, foam mat — and measure the bolt holes myself with a tape measure. Center-to-center. Twice.
Why bother when the spec sheet exists? Because manufacturer spec sheets are sometimes flat-out wrong, or they list the maximum supported VESA rather than the actual hole pattern.
On my 65-inch OLED, the spec sheet confidently claimed 300x300. The actual holes? 200x200 with adapter plates. I learned the hard way after one extremely awkward trip back to the hardware store.
> REMEMBER: Also check the bolt thread size — usually M6, M8, or M10. Quality mount kits include several sizes, but if your TV uses a non-standard thread, you're making an unplanned hardware run.
Step 2: Pick the Right Wall Mount (There Are Only Three Choices)
There are three main mount categories, and over four installs, I've used every single one. Here's the honest breakdown:
Fixed Mounts: The Minimalist's Dream
Fixed mounts sit flush to the wall with about 1 inch of clearance and don't move at all.
- The good: Cheapest option, holds the most weight, looks impossibly clean
- The bad: Zero adjustability — your viewing angle is locked forever
- Best for: TVs mounted at perfect eye level in a single-position viewing room
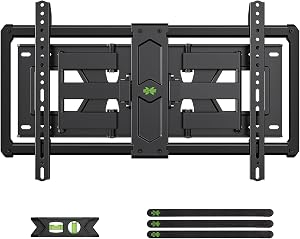
Tilting Mounts: The Sweet Spot
Tilting mounts allow vertical adjustment, usually 5 to 15 degrees down.
- The good: Kills glare from windows and overhead lights, perfect for above-fireplace installs
- The bad: Slightly thicker profile (2-3 inches from the wall)
- Best for: Mounts placed higher than eye level
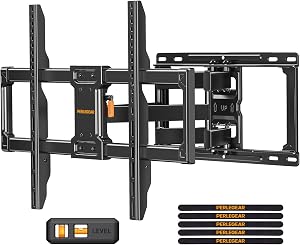
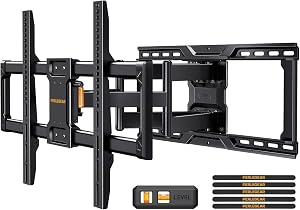
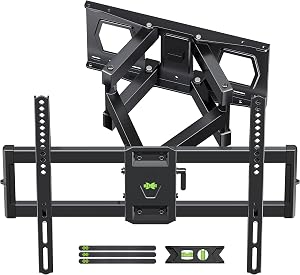
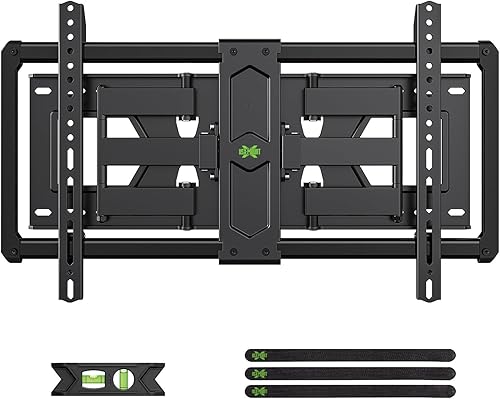
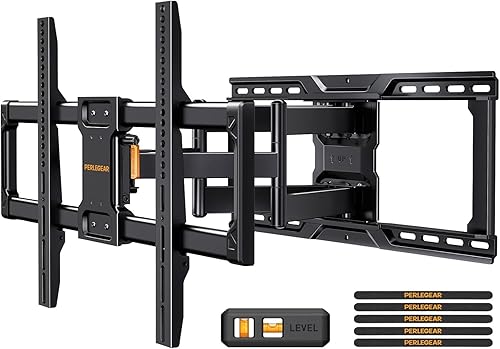
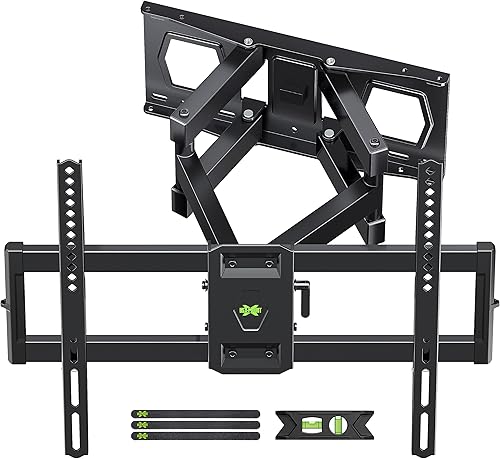
Full-Motion (Articulating) Mounts: The Power Move
Full-motion mounts extend, swivel, tilt, and rotate — basically anything but make you breakfast.
- The good: Maximum flexibility, swings out for cable access, pivots for kitchen or corner viewing
- The bad: Most expensive, lowest weight rating, requires stronger wall anchoring
- Best for: Open-concept living rooms or corner installations
> KEY TAKEAWAY: Always pick a mount rated for at least 25 pounds more than your TV's actual weight. Future-you (and your TV) will thank present-you for the safety margin.
The Three Mistakes That Sink 90% of First-Time Installs
After helping friends, neighbors, and three rather panicked relatives mount their TVs, I see the same three mistakes on repeat:
- Mounting into drywall alone — Drywall anchors are not rated for sustained heavy loads. Find the stud or use heavy-duty toggle bolts rated for the full TV weight plus mount.
- Skipping the level check — A TV that's 1 degree off looks subtly wrong and will haunt you every time you sit down. Use a real level, not the molded plastic bubble on the mount.
- Forgetting cable planning — Decide before drilling where the HDMI, power, and any soundbar cables will route. Nothing kills the clean-look magic like a tangle of cords dangling below.
Safety First: The Wall You Should Never Mount To
Not every wall is mount-worthy. Stop and reassess if you encounter:
- Plaster-and-lath walls (common in pre-1950s homes) — require specialty anchors and ideally a pro
- Walls with hidden HVAC ducts or plumbing — your stud finder's AC detection is your best friend here
- Exterior brick or concrete — doable, but requires masonry bits and concrete sleeve anchors
- Metal studs — use self-drilling toggle bolts rated for the full load
Your Pre-Mount Checklist
Before you put drill to drywall, run through this final verification:
- [ ] VESA pattern measured and confirmed (not just trusted from spec sheet)
- [ ] Mount weight rating exceeds TV weight by 25+ pounds
- [ ] Studs located and marked with painter's tape
- [ ] Cable route planned from TV to outlets/components
- [ ] Helper scheduled and present
- [ ] Level, drill, and all bits within arm's reach
- [ ] Mount hardware sorted and inspected
- [ ] Floor protected with blanket (in case of dropped tools)
The Final Word: You've Got This
Mounting a TV on the wall is genuinely one of the most rewarding DIY upgrades you can make. It transforms a room. It declutters your space. It makes your setup look intentional and modern instead of piled together.
And unlike replacing a faucet or rewiring a switch, the consequences of taking your time are essentially zero. Measure twice. Drill once. Hang the TV. Step back. Feel like a wizard.
When you flip on that first movie and the screen sits perfectly level, perfectly flush, and perfectly yours — you'll wonder why you waited.
Now go grab that stud finder.
Key Takeaways
- Choosing the right how to mount a tv on the wall means matching capacity and output ports to your actual devices
- Always check actual watt-hours (Wh), not just watts — runtime depends on Wh, not peak output
- Also covers: vesa mount size guide
- Also covers: stud finder for tv mount
- Also covers: drywall vs stud tv mount
- Compare price-per-Wh across models to find the best value for your budget